

Setting Up Your Business
Once you have a ShopStable account, you can register your business and start reaching local customers.
Business Registration
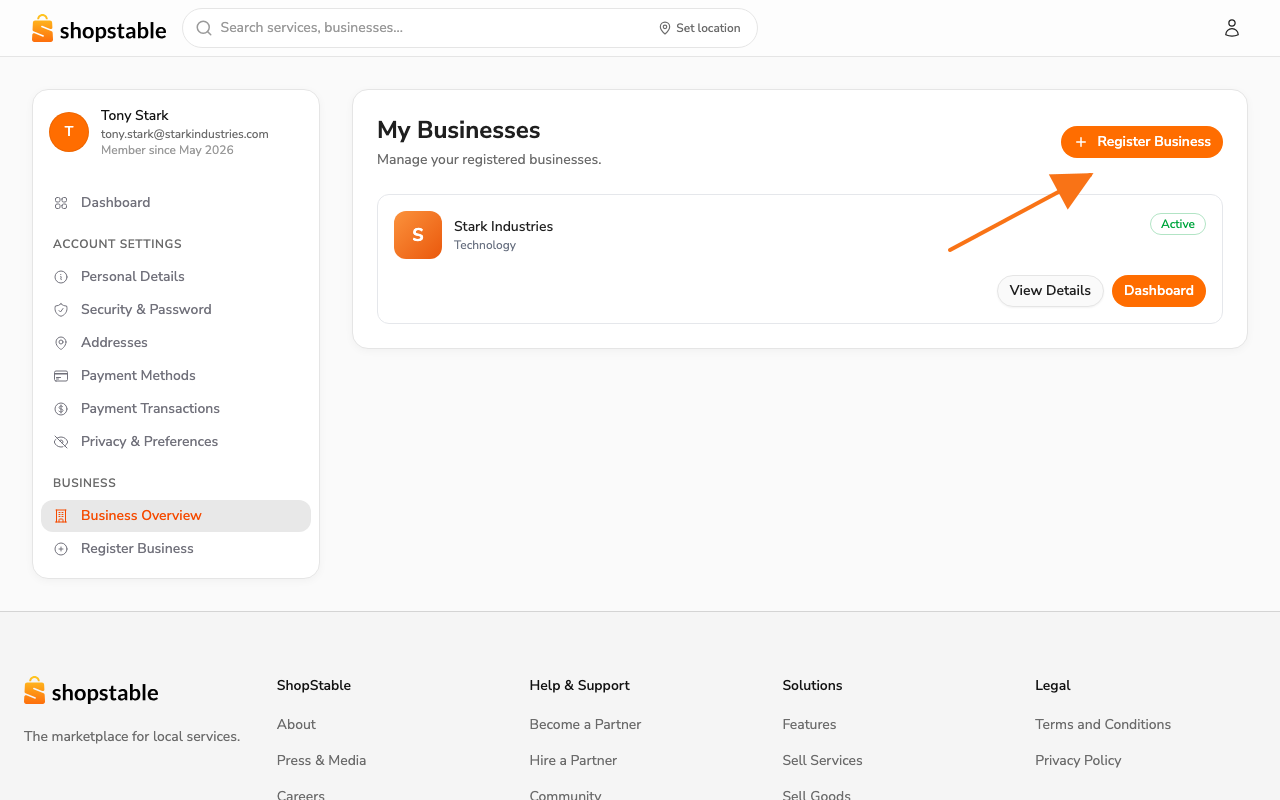
From the account menu, open Businesses (or visit /account/businesses) and click Register Business in the top-right. The registration wizard walks you through several steps:
- Business name and type — name your business and pick whether it's an individual, company, non-profit, or government entity.
- Industry — choose the category customers will find you under.
- Contact information — business email, phone number, and website.
- Primary location — your main business address (used for search and storefront).
- Business description — what you do and what makes you unique.
You can always edit any of these later from the dashboard.
Adding Your Logo and Photos
A professional profile builds trust. To add your logo and photos:
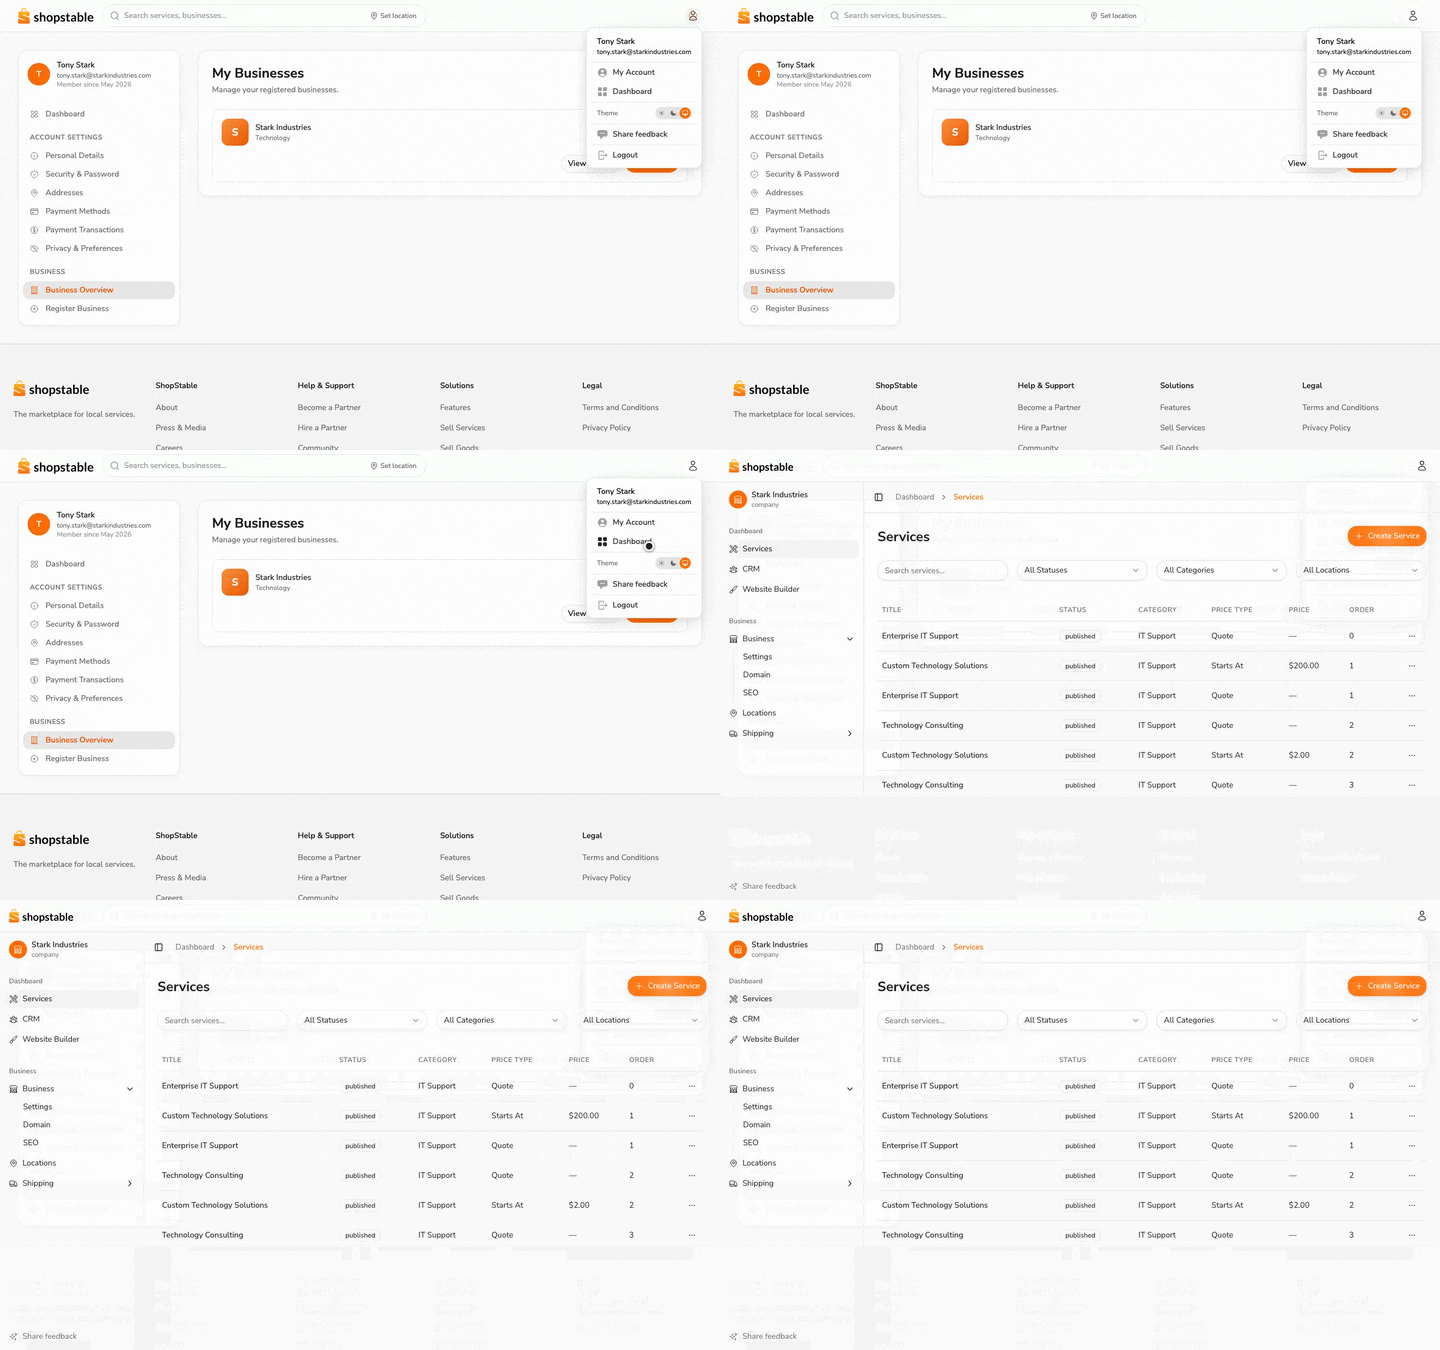
- Open the user menu in the top-right of any page and click Dashboard (or go straight to your dashboard).
- From the dashboard sidebar, open Settings.
- Upload your business logo (recommended: 500×500px, PNG or JPG).
- Add cover photos that showcase your work or storefront.
Choosing Your Subscription
ShopStable offers multiple plans. From the account menu, open Businesses → {your business} → Subscription to compare plans and pick one. Each plan unlocks a different feature set — you can upgrade or downgrade at any time.
Going Live
Your business becomes visible on the marketplace once you:
- Complete your business profile
- Add at least one service or product
- Have an active subscription
Tips for a Strong Profile
- Be specific in your business description — mention your specialties and service area
- Add high-quality photos — listings with photos get significantly more views
- Keep your hours updated — customers rely on accurate availability information
- Respond to leads quickly — fast response times build trust and win more business