

Publishing Your Site
Once you've built your site in the site builder, publishing makes it live and accessible to the public on your custom subdomain.
Before You Publish
Make sure you've completed these steps:
- Review all pages — Check each page for typos, placeholder text, and missing images
- Test navigation — Ensure all links and menu items work correctly
- Check mobile view — Preview how your site looks on different screen sizes
- Verify business info — Confirm your contact details, hours, and address are accurate
How to Publish
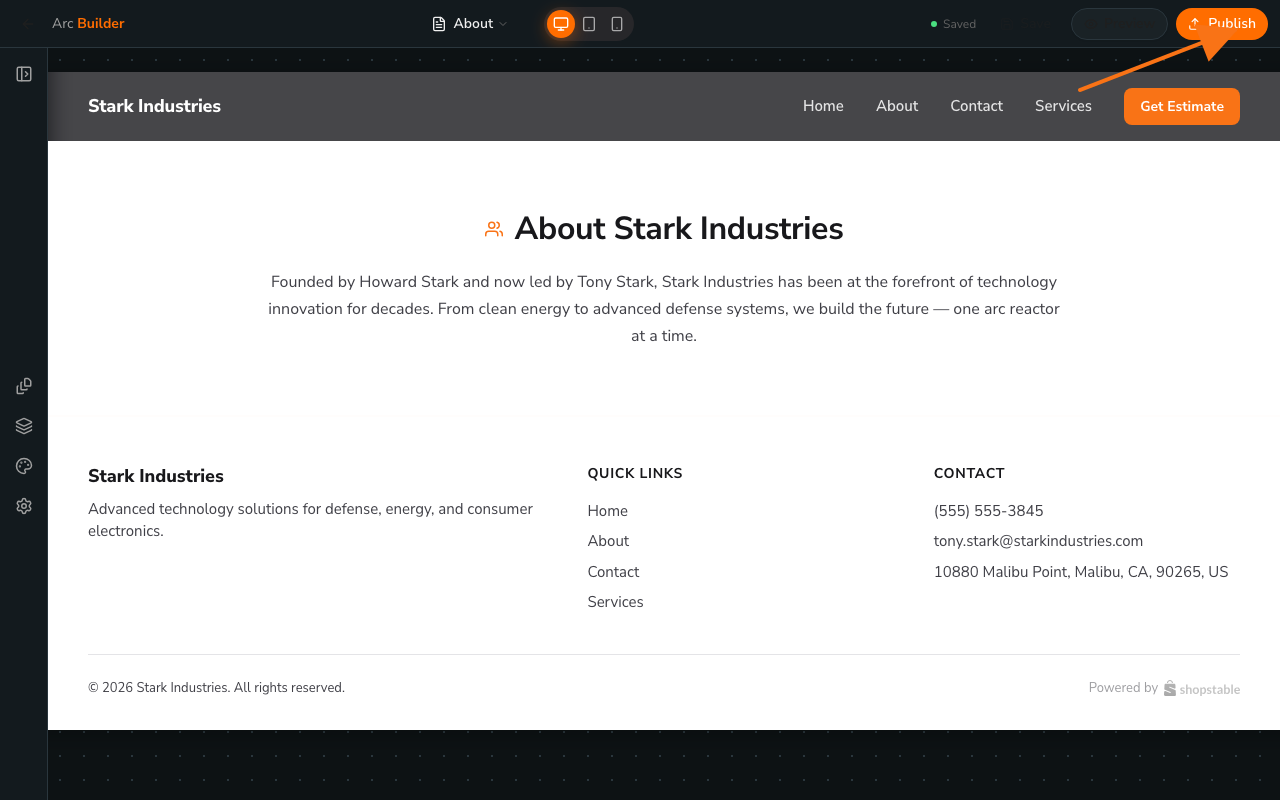
- Open Website Builder from your dashboard sidebar.
- Click your site card to open it in the full-screen editor.
- Click the Publish button in the editor top bar.
- The button shows a spinner while publishing, then a green confirmation when it's done.
Publishing updates every page on the site as a unit — you don't need to publish pages individually.
Your Subdomain
Your published site is served at yourbusiness.shopstable.com, where yourbusiness is your business's subdomain. The subdomain is set during business registration and can be changed from Dashboard → Domain.
Updating Your Published Site
After your initial publish, any changes you make in the site builder are saved as drafts. To push updates live:
- Make your changes in the site builder
- Click Publish again to update the live site
- Updates go live immediately
Site Status
Each site can be in one of several states, shown as a badge on the Website Builder home and at the top of the editor:
- Draft — not yet published; only visible to you in the editor.
- Queued / Publishing — a publish job is running.
- Published — live and accessible to the public.
The business itself also has a site status (coming_soon, maintenance, published) which controls what visitors see on your subdomain — useful when you need to take a published site temporarily offline.