

Site Builder Basics
ShopStable's Website Builder lets you create a polished, professional site for your business in minutes. You start from a template, edit pages and blocks visually, and publish to a *.shopstable.com subdomain when you're ready.
Accessing the Site Builder
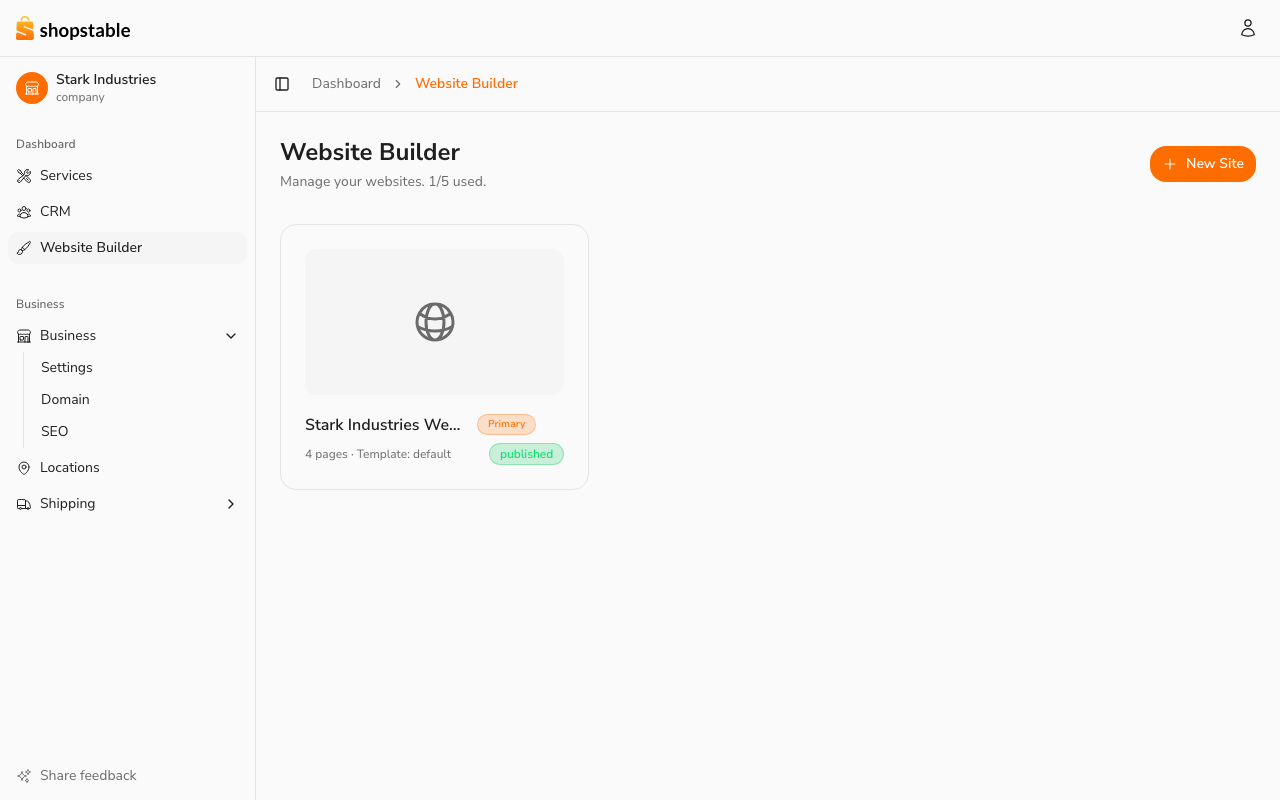
From the dashboard sidebar, open Website Builder. The landing page lists every site you've created, along with how many pages each one has and its publish status (draft, queued, publishing, or published). Your primary site — the one customers reach at your subdomain — is marked with a Primary badge.
If you haven't created a site yet, you'll see an empty state inviting you to create your first.
Creating Your First Site
Click New Site in the upper-right corner of the Website Builder home. You'll be prompted to give the site a name and choose a starting template. Templates are pre-designed page layouts tuned for service businesses — pick the one closest to the look you want; you can change colors, copy, and images later.
After you create the site, ShopStable scaffolds a starter set of pages (typically Home, About, Services, and Contact) so you have a working draft from minute one.
The Editor
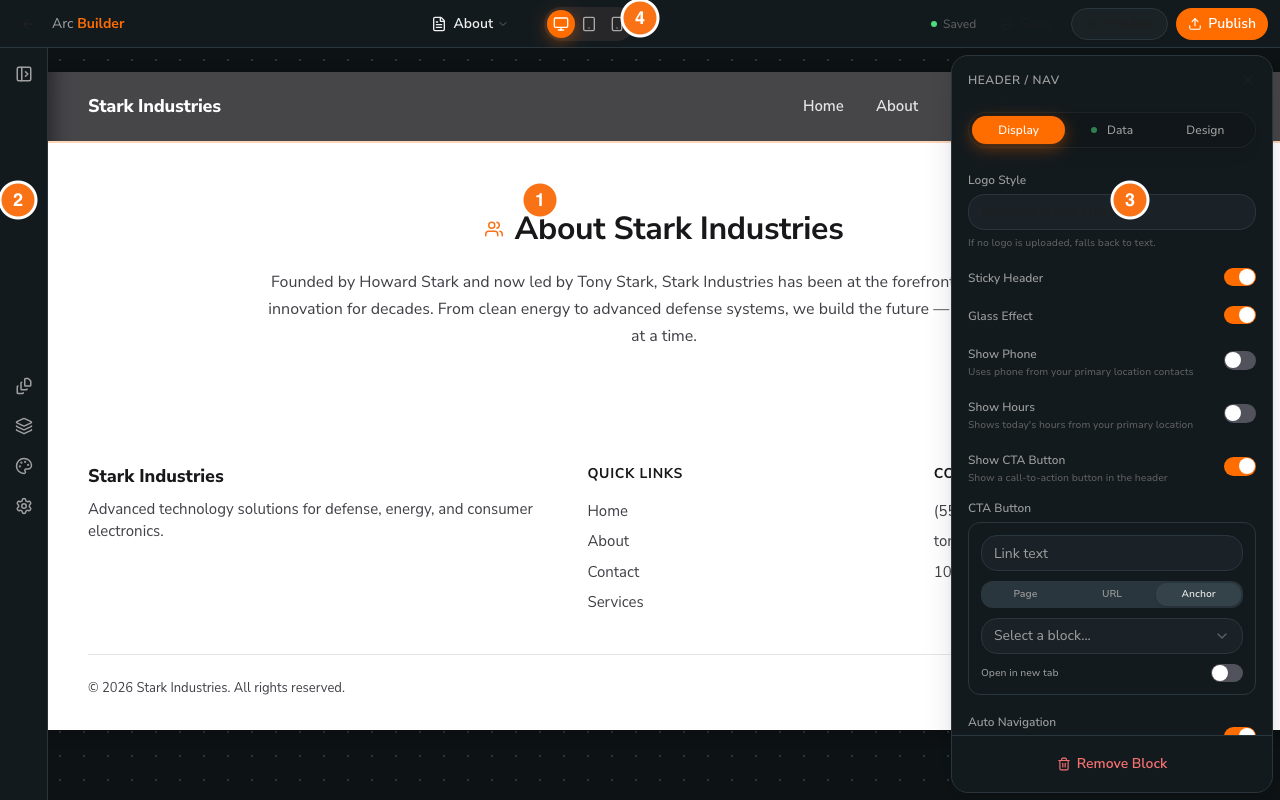
Clicking a site card on the Website Builder home opens that site's most recent page in the full-screen editor.
The editor has four regions:
- Canvas (center) — a live preview of the page with every block rendered.
- Left rail — switch pages, browse blocks, and tweak global design tokens like colors and fonts.
- Properties panel (right) — the editing surface for whichever block you click on the canvas. Text, images, links, layout — all in one place.
- Top bar — page title, save state, and the Publish button.
Changes are saved as drafts automatically. They go live only when you publish.
Editing Pages and Blocks
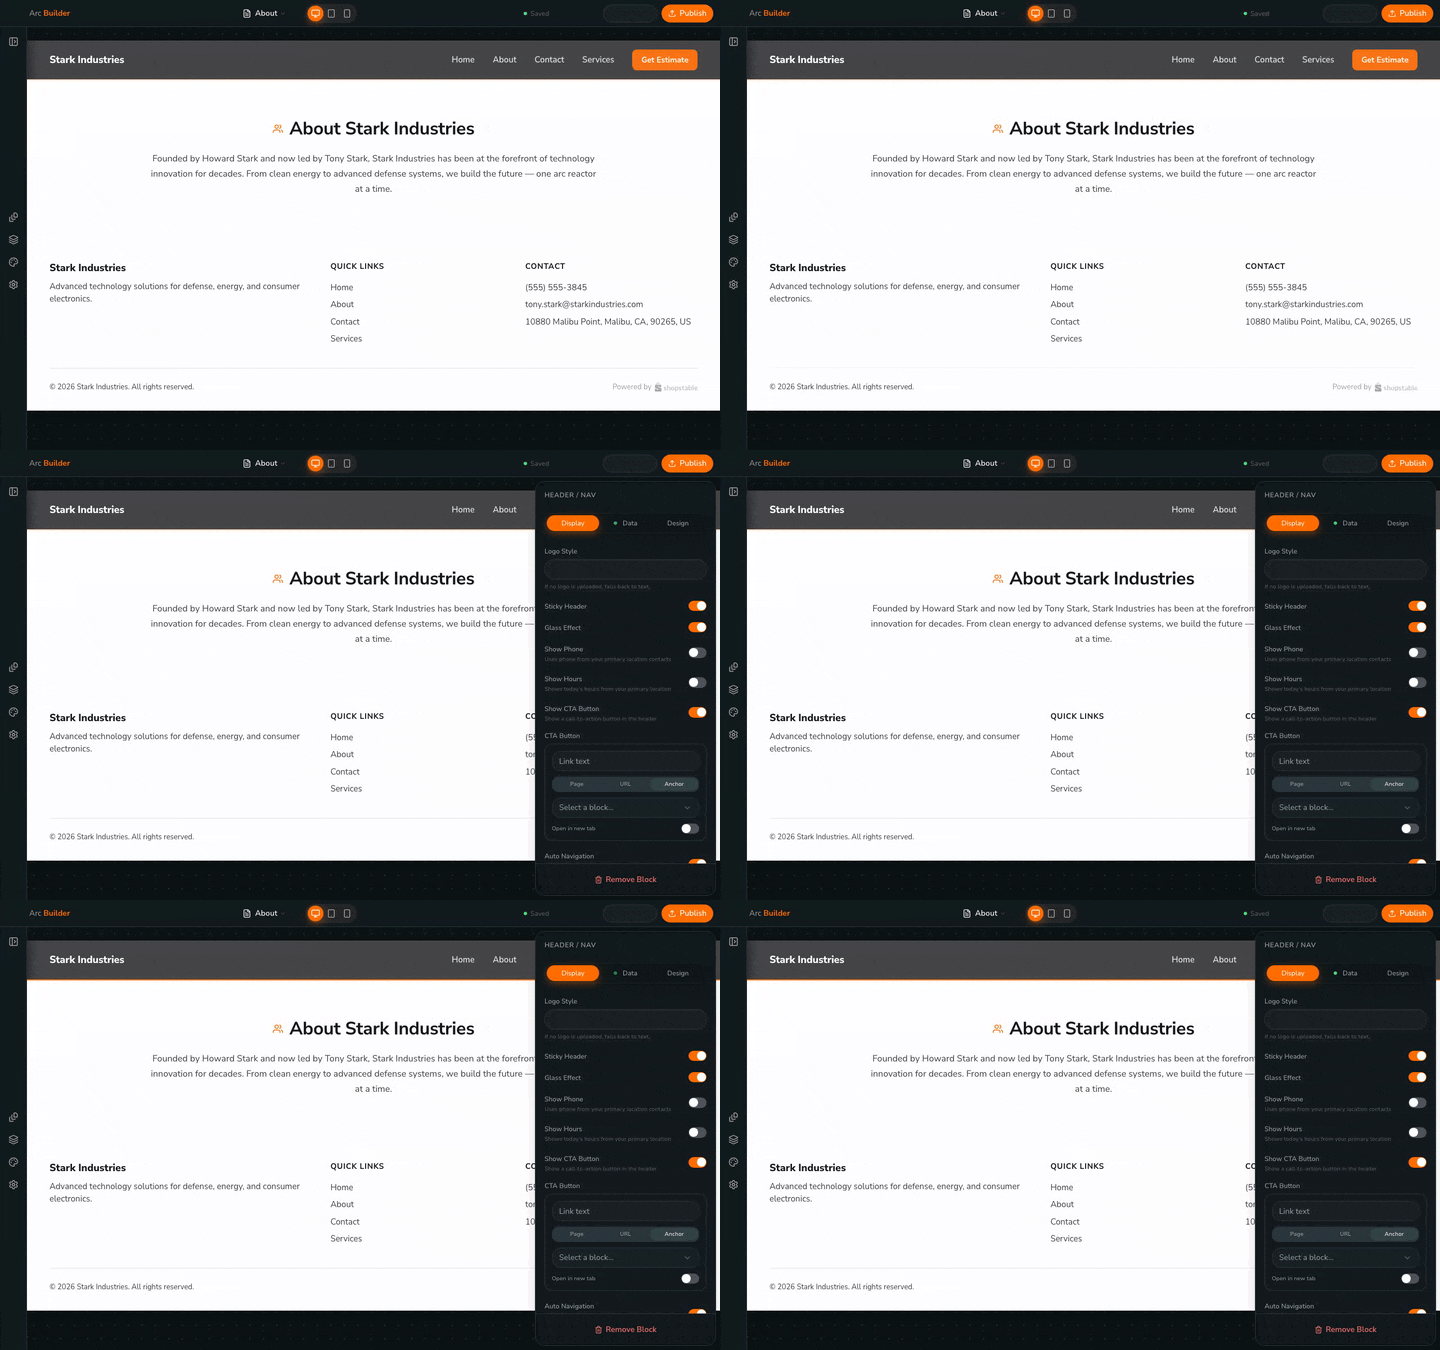
Pages are made of blocks — content sections like a hero, a feature grid, a testimonial row, a services list. To edit a block, click it on the canvas. The side panel updates with that block's settings: copy, images, link targets, alignment, accent color.
Blocks are designed to look right out of the box. You can usually ship by editing the copy and swapping a few images — no need to fiddle with spacing or fonts.
Adding and Removing Pages
Open the Pages panel from the editor's left rail. Click + to add a new page; give it a title (this becomes the URL slug) and choose where it sits in the navigation order. Blank pages start empty; drop blocks in from the editor.
To remove a page, open its settings from the same panel and choose Delete. If a page is in your navigation, removing it also removes the menu item.
Publishing Your Site
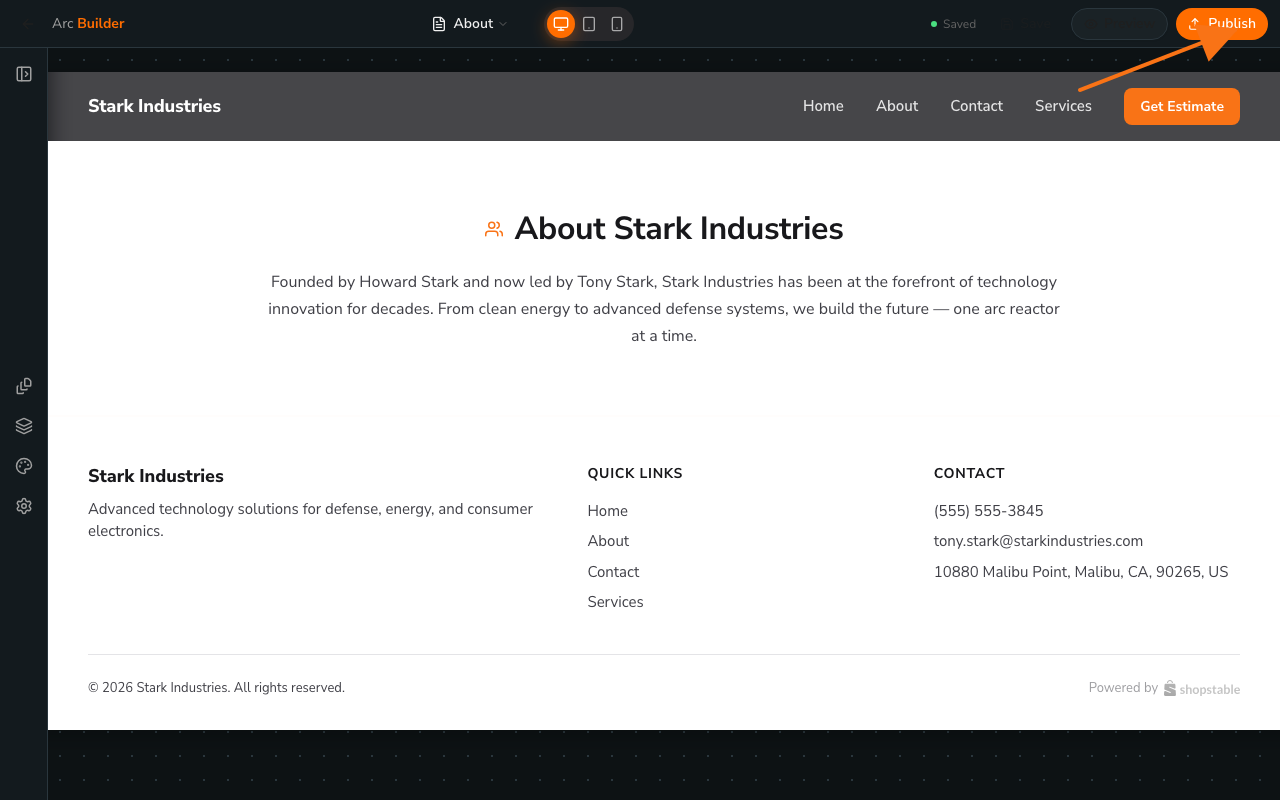
When the draft is ready, click Publish in the editor's top bar. ShopStable queues a publish job, snapshots every page, and serves the published site from your business's subdomain. The button shows a spinner while publishing and a green confirmation when it's done.
You can keep editing after publishing — your changes stay as drafts until you click Publish again. That means you can ship now and refine later without breaking what visitors see.
Setting a Primary Site
If you have more than one site, mark one as Primary. The primary site is what loads at your business's subdomain (everything else stays accessible by ID for testing). Change the primary at any time from the site list — it takes effect immediately.
Tips for a Great Site
- Keep it simple. A clean, focused homepage converts better than a cluttered one.
- Use real photos. Authentic photos of your work build trust faster than stock imagery.
- Write for your customers. Lead with what they need; skip industry jargon.
- Test on mobile. Most visitors will see your site on a phone, so preview every page at narrow widths before publishing.
- Update regularly. Even a small tweak — a refreshed photo, a new testimonial — signals that your business is active.